
The Driving Test Mark Sheet — Everything You Need to Know
February 14, 2024
•11 min read

Sam Plant
Content Writer

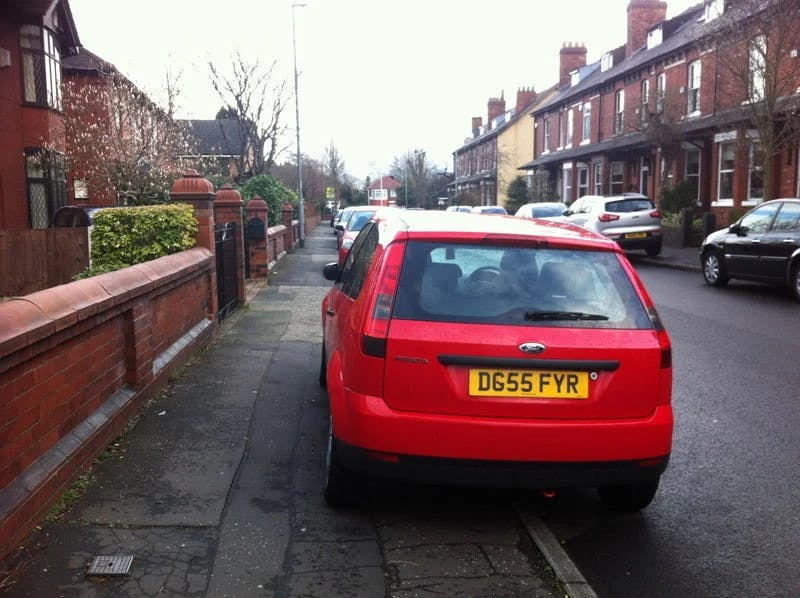
Everyone who goes through the practical test can agree on one thing: it's a nerve-wracking experience. Sure, you'll likely have driven around these exact roads dozens of times — but never before has so much ridden on it. And while having someone by your side in the car is nothing new, that someone is usually your instructor, a friend or family member. This time, it's an examiner scribbling away on a driving test mark sheet.
This mysterious mark sheet is something all students will see at the end of their test, whether they pass or fail. But even when it's right there in front of you, it can feel a bit like reading hieroglyphics. There's plenty to get your head around, with a seemingly endless list of categories and sub-categories. Thankfully, we're here to help.
Let's take a good old look at the driving test mark sheet.
Driving test mark sheet: the breakdown
Here is a blank copy of the driving test mark sheet — or, to give it its official title, the Driving Test Report. It's easy to see why many find this an intimidating document — the number of form fields is staggering!
However, it is possible to comprehend the mark sheet. Let's start with the top of the report. The numero uno thing for you to pay attention to is the wording on the right-hand side. That's where you'll need to sign to declare that you have valid driving test insurance for the car you're taking your test in, and that you have lived in the UK for at least 185 days in the past year.
You’ll also be asked whether you want to receive your test results by post or over email. Don’t worry, you’ll still find out whether you’ve passed or failed (and why) straightaway — this is just so the DVSA knows where to send your report sheet.
The rest of this section and the next is for administrative use, so we'll be focusing on the bottom three quarters of the sheet: everything from ‘Eyesight test’ down. Here, there are all the categories that cover different faults a candidate could make during their test.
You’ll notice that each area has a circled ‘S’ and ‘D’ beside it. The S refers to serious or dangerous faults, or ‘majors’. The D is for driving faults (a.k.a. minors).
Receiving a mark in one of these circles means that you've committed a fault in the relevant category. The ‘Total faults’ box at the end of page 1 is where the examiner tots up the number of faults in each specific category or subcategory. A single serious fault in any category will cause you to fail the practical test. You'll pass if you get zero serious faults, and no more than 15 driving faults.
But what exactly counts as a fault? Grab your scuba gear because we're about to dive into the categories one by one.
Eyesight test
As you might've guessed, this relates to the eyesight test you'll take when your driving test begins. This simply involves reading a car licence plate from a distance of 20 metres (or 20.5 metres for pre-September 2001 licence plates).
In almost every category on the driving test mark sheet, you'll see options for both S (serious or dangerous) and D (driving) faults. Here, however, you'll only find an S. This is because there are only two possible outcomes from the eyesight test: you read a licence plate correctly and you're good to go, or you don't and the test ends.
You will get up to 3 chances to prove your vision is adequate. If you have a diagnosed learning difficulty, or you don’t speak English, you may write down the correct numbers and letters rather than saying them.
Fault: not meeting the requirements of the eyesight test.
Manoeuvres
These four options cover the different types of manoeuvres you may need to do on your test. You'll practice all of them during your driving lessons, but you only need to complete one of these during your test.
Minor faults may include needing to reposition your vehicle, or having one or two wheels on the line of a parking bay. If you end up partially outside the bay, you'll be given a major fault.
- Reverse/Right refers to the ‘pulling up on the right’ manoeuvre which became part of the test in December 2017
- Reverse Park (road) is another way of saying that you must perform a parallel park on the side of the road
- Reverse park (car park) on the other hand, concerns reversing into a parking bay
- Forward park refers to forward bay parking — if you're asked to complete this manoeuvre, you’ll also have to reverse out of the space afterwards
Faults: incorrect use of controls and/or inaccuracy; lack of effective all round observation.
Show me, tell me
This category includes answering the two ‘show me, tell me’ questions. You'll get a minor fault if you answer either of these questions incorrectly. Candidates may score a major fault if they lose control of their vehicle while answering a ‘show me’ question.
Faults: incorrect answers; loss of control of vehicle.
Controlled stop
In a third of driving tests, the examiner will ask the candidate to carry out a controlled stop. The examiner will tell the candidate that they'll need to perform an emergency stop soon, and what signal they will use beforehand — usually, they will raise their hand to prompt you to stop.
You must stop quickly while maintaining control of the car. You must also ensure it is safe to move away again afterwards through observation.
Faults: slow reaction; inadequate braking; locking the wheels and skidding; loss of control.
Control

One of the broadest categories, Control includes six subcategories. Here, you must be able to operate the accelerator, clutch, gears, foot brake, parking brake, and steering at the appropriate times. You must also show that you can use these controls smoothly.
- Use the accelerator and clutch together to start the engine smoothly, and hold down the clutch before stopping.
- Match road and traffic conditions by selecting the right gear.
- Do not let the vehicle coast by driving in neutral or with the clutch held down.
- Use the brake smoothly.
- Prevent the vehicle from rolling by using the parking brake.
- Steer as smoothly as possible, and avoid swerving or swinging out into the road.
- Faults (buckle up — there's a few here): uncontrolled or harsh use of the accelerator; uncontrolled use of the clutch; late and/or harsh use of the foot brake; failure to apply or release the parking brake correctly and when necessary; erratic steering; overshooting the correct turning point; both hands off the steering wheel; hitting the kerb; selecting the wrong gear; coasting (keeping the clutch held down)
Precautions
Before starting the engine, you must make sure your seat and mirrors are in the correct position. You must also be able to safely operate all controls. You may score a fault for operating (or attempting to operate) controls without proper precautions, such as trying to start the engine in gear or with the handbrake applied.
Faults: failure to take proper precautions before starting the engine.
Ancillary controls

We've already covered the vehicle's main controls in the Control category. This category, however, refers to the vehicle's secondary controls, like windscreen wipers, air conditioning and demisters.
The examiner will check that you're able to keep control of the car while operating these controls. After all, opening the window shouldn't mean taking your eyes off the road!
Faults: failure to keep proper control of the vehicle; failure to use ancillary controls when necessary.
Move off
Candidates should be able to move off smoothly and safely during their test. You must also carry out precautionary observations before moving off — this includes checking your blind spot.
Faults: failure to take effective observation before moving off, including the correct use of signals; inability to move off smoothly, straight ahead, at an angle, or on a gradient.
Use of mirrors
One of the most important routines you'll ever learn as a driver is MSM: mirror, signal, manoeuvre.
So, it's no surprise that use of mirrors is one of the criteria that features on the driving test mark sheet. You'll need to show that you're able to check your mirrors before signalling, changing direction or changing speed.
Faults: failure to make effective use of mirrors when necessary.
Signals
This category is exactly what it sounds like: you must use signals correctly, when necessary and in good time. You should only use the signals shown in the Highway Code. A common mistake to avoid is waving pedestrians across the road: you can't always be sure what's coming in the other direction or if somebody behind you will try to overtake, so don't give this signal!
Faults: failure to give a necessary signal; giving an incorrect or misleading signal; failure to cancel direction indicators; incorrectly timed signalling that is misleading or too late.
Junctions
Year after year after year, lack of proper observation at junctions comes out as the top reason why candidates fail their driving test. This is one of the various faults that falls under the broader Junctions category. To perform well, candidates will need to judge their approach to a junction, carry out proper observations, position themselves correctly and turn safely.
Faults: approaching junctions too quickly or slowly; failure to take effective observation before emerging; late or incorrect positioning before turning right; positioning too close or too far from the kerb before turning left; cutting right-hand corners.
Judgement
Judgement is a broad category, including a number of expectations for an overtaking driver. You should only overtake when it is safe to do so, and leave plenty of room for other vehicles — including cyclists and motorcyclists.
Aside from overtaking, you also should take care when driving along narrow or obstructed roads. When necessary, you should be prepared to wait and let approaching vehicles pass. Meanwhile, you should not cut across the path of oncoming traffic and other vehicles should not have to stop, slow down or change direction to allow you to turn.
Faults: attempting to overtake unsafely; cutting in after overtaking; failure to show proper judgement when meeting approaching traffic; turning right across the path of oncoming traffic.
Positioning
When driving, you must maintain correct positioning at all times. When driving along a road with marked lanes, this means positioning your vehicle towards the middle of the lane. You should avoid straddling markings, changing lanes unnecessarily and driving in an inappropriate lane.
Faults: incorrect positioning; cutting across the normal road position when going ahead at roundabouts without lane markings; failure to maintain proper lane discipline at roundabouts with lane markings; driving in the right hand lane of a dual carriageway for too long unnecessarily.
Pedestrian crossings

Cars don't own the road: they share it with other road users. This includes pedestrians — so be sure to show them consideration! Slow down and stop if there is anyone on a pedestrian crossing. You should also give way to pedestrians crossing a pelican crossing when amber lights are flashing, and give way to both cyclists and pedestrians at toucan crossings.
For more information, read up on the different types of pedestrian crossing.
Faults: failure to give precedence to pedestrians on a pedestrian crossing; non-compliance with lights at pedestrian-controlled crossings’ approaching a crossing at an inappropriate speed.
Position/normal stop
During your test, your examiner will ask you to pull over and stop several times. While you do so, they'll check whether you are able to stop in a place which is safe, legal and convenient.
- Choosing a safe place to stop means keeping well clear of a junction or bend, where other road users may be unable to see you. You should also avoid parking close to or opposite a bus stop, or opposite another parked vehicle on a narrow road. If possible, avoid parking on the brow of a hill, or in a place with lower kerbs for wheelchair users.
- You must also be sure not to park illegally. Illegal parking places include anywhere within 10 metres of a junction, next to a bus stop or in a cycle lane. You must also take note of road markings, such as school zones.
- When considering if a parking place is convenient, think about how it may affect you, your passengers and other road users. Parking in front of a driveway would inconvenience anyone attempting to use it, for example. You'll also want to avoid parking close to puddles, wet grass and mud!
Faults: making a normal stop in an unsafe, illegal or inconvenient position.
Awareness planning
As a driver, you must be able to think ahead, predict the actions of other road users, and adjust your own actions accordingly. This includes more vulnerable road users like pedestrians and cyclists. You must be able to act in good time, rather than simply reacting at the last second.
Faults: failure to judge what other road users are going to do and react accordingly.
Clearance
When passing an obstruction or stationary vehicle, you should allow plenty of room at all stages of your overtake: pulling out, moving alongside and pulling back in. This means keeping well away from parked cars on the side of the road! You should also be ready to slow down or stop when appropriate.
Faults: not allowing adequate clearance when passing parked vehicles and other obstructions.
Following distance
Your instructor has surely, at some point during your driving course, repeated this motto to you: “only a fool breaks the two-second rule!” This is what the Following Distance category concerns itself with: leaving an appropriate space between your vehicle and the one in front. Dropping back allows you more time — and, should you need to brake, you'll have a safe gap in front of you.
To allow for increased stopping distances, you’ll also have to adjust your following position if the weather turns bad. Driving instructors are the poets of the road and have a catchphrase for nearly everything, so remember: “when it's wet on the floor, increase it to four!”
Faults: failing to keep a proper and safe distance from the vehicle in front when moving; not leaving a reasonable gap from the vehicle in front when stopping in lines of traffic.
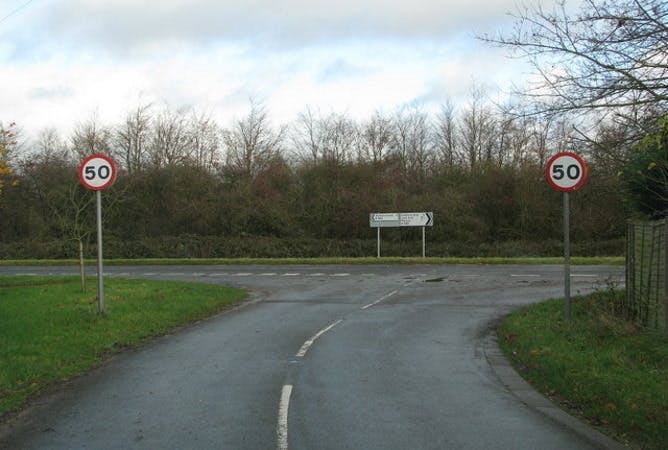
Use of speed
Correct use of speed means taking into account both the legal speed limits in force and the conditions on the road at the time. These may include levels of traffic and weather conditions — you must be able to stop safely. A common serious fault here is breaking the speed limit.
Faults: driving too fast for road, traffic and weather conditions.
Progress
When driving, you should move forward at an appropriate speed. That word ‘appropriate’ is key: driving too fast or too slowly can cause major problems. Going too slowly can often encourage others to overtake you, which can lead to dangerous situations. Drive too fast and you may not be able to deal safely with hazards.
Undue hesitation also falls under this category. This may include not proceeding when it is safe to do so, or stopping and waiting when it is safe and reasonable to go.
Faults: driving too slowly for road and traffic conditions; being overcautious by stopping or waiting when it is safe and normal to proceed.
Response to signs/signals
When driving, you'll encounter a wide variety of signs, signals and road markings. This category refers to your ability to recognise and react appropriately to each of these signs. For example, you must stop when you reach a stop sign. To brush up on this section, check out our traffic signs quiz.
Faults: failure to comply with, or late reaction to traffic signs, road markings, traffic lights, traffic controllers or other road users.
ETA
This stands for Examiner Took Action, and does what it says on the tin. If the examiner needed to take action—either verbally, or physically (i.e., grabbing the steering wheel or using dual controls)—this will be noted in this section. Needless to say, this isn't a positive!
ECO
When driving, you should consider the impact you have upon the environment. Heavy braking, over-revving and failure to use appropriate gears can all have a negative effect. If stopped for a long period, you should also consider stopping the engine.
Your examiner will assess how environmentally friendly your driving is during the test, and may provide you with feedback at the end if there are areas in which you need to improve. However, this will not affect your overall result.
Pass or Fail?

The most obvious part of the driving test mark sheet, but also the most important: here is where the examiner will mark off if you've passed or failed your test!
If you pass, you'll receive a pass certificate, the number of which will be written down in the “I acknowledge receipt of Pass Certificate” field. You'll also need to sign the declaration confirming that there has been no change to your health status since you last applied for a licence.
If you fail, make sure you look over the driving test mark sheet carefully. It has all the info on where you went wrong — so, study it, and make sure you brush up on the areas that tripped you up this time.
If at first you don't succeed, try and try again!
Driving Test Mark Sheet FAQs
The driving test mark sheet is the form your examiner will fill out during your driving test. These days, it’s usually done electronically. You’ll be asked to sign a declaration, and from there, the examiner will use the form to mark your score in the different categories you’re judged on in the test. They’ll record any faults you make, and ultimately, whether you’ve passed or failed your test. You’ll be sent a list of the faults you made after the test.
Your examiner will ask whether you want your results sent to you via email or post. Obviously, it’s quicker to choose email. Even if you fail your driving test, the DVSA will send you a list of the faults you made in each area. Keep your report safe — it’s really handy to know which areas you need to focus on in preparation for your next driving test.
The examiner will judge you on eleven different categories, as well as the eyesight test and the ‘show me, tell me’ questions. Each category is made up of different skills, such as the correct usage of signals or your observation at a junction. It’s fine to make a mistake — most people do. You can make up to 15 driver faults, which are sometimes called ‘minors’. Some mistakes are classed as a serious driver fault, or ‘majors’. If you make a major mistake during your test, you’ll automatically fail.
Before the test, the examiner will ask you to read a number plate from a distance of 20 metres to check your eyesight. They’ll then ask you a ‘tell me’ question. After that, it’s time to start driving. You’ll need to show off your general driving ability, your ability to reverse the vehicle, and your independent driving skills. In the first part of the test, the examiner will give you directions to follow. You’ll then need to perform a parking exercise, followed by some independent driving. In most cases, you’ll follow a sat-nav with little guidance from your examiner. In 20% of driving tests, you’ll need to use road signs instead. Finally, at some point during the test, the examiner will ask you a ‘show me’ question.
We'd love to let you know about our courses, news and offers via email. You may unsubscribe at any time.